Page 69 looked good; Tinga Poblano w/Chicken. We have chorizo, chicken, chipotles en adobo=tasty.
I only had to get one item at the store-Chorizo, a spicy, Mexican pork sausage flavored with garlic and chile. I picked up a sausage at Whole Foods, and now we're good to go.
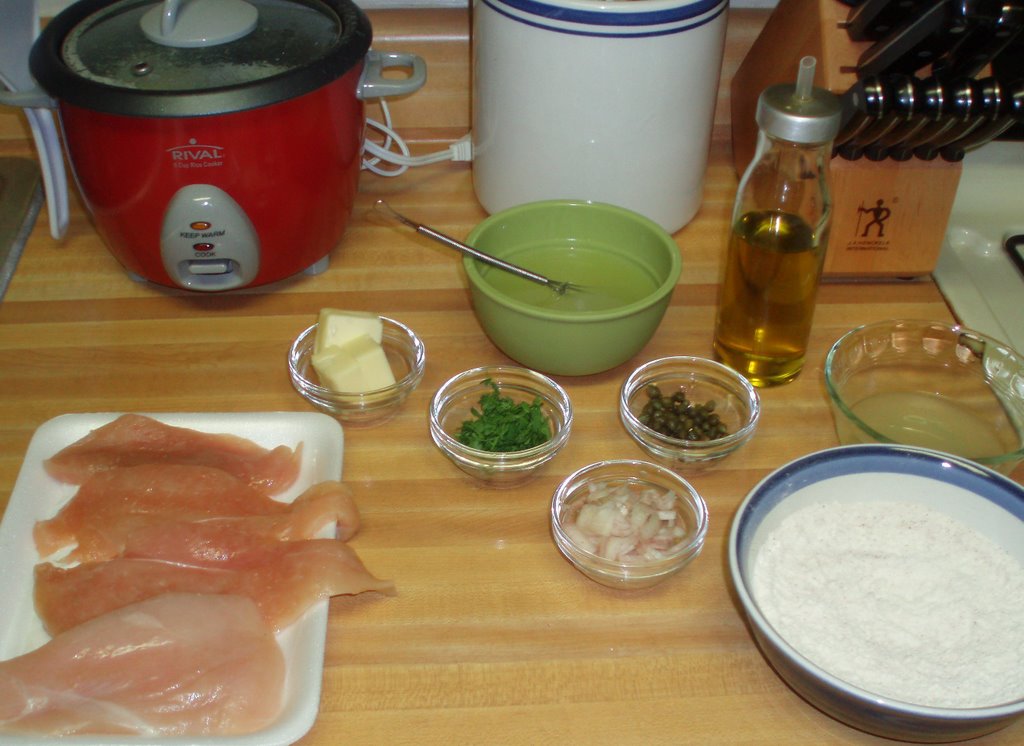
Tinga Poblana w/Chicken
1 lb chicken thighs (I used boneless/skinless breasts)
1 onion, 1/2 cut into large cubes, 1/2 finely diced
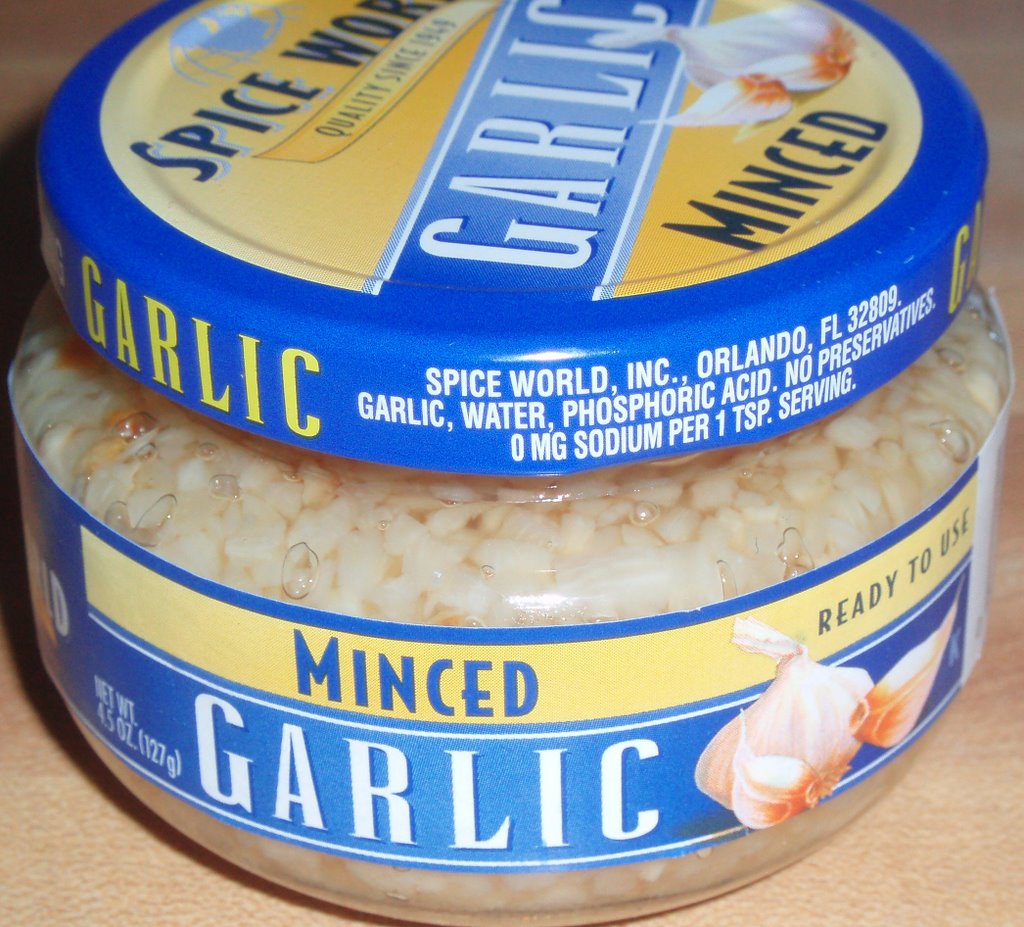
4 cloves garlic, 2 smashed, 2 minced
Salt
1 TB cooking oil
1/2 lb chorizo, casings removed and crumbled
1 can chopped tomatoes (if in juice, drain-if in sauce, don't drain)
1 tsp dried oregano
2 bay leaves
2 canned chiles chipotles en adobo with 1 TB sauce, diced
Garnishes:
thinly sliced white onion
diced avacado
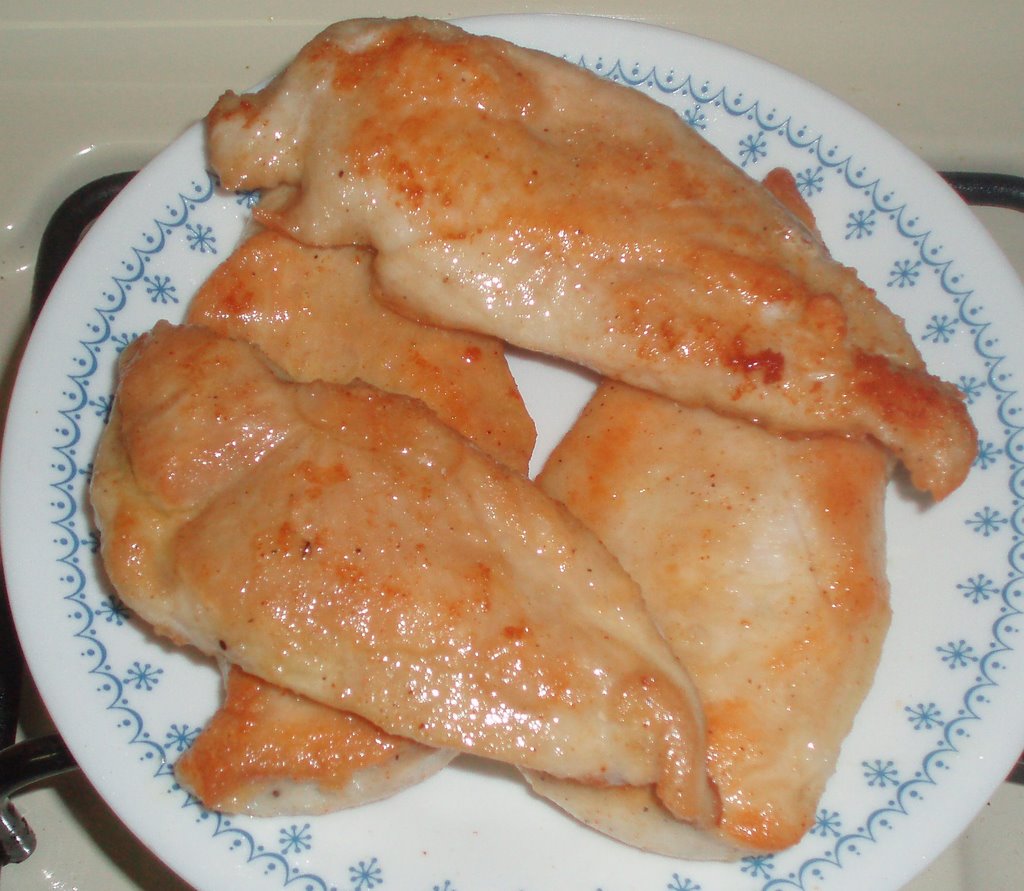
Place the chicken, onion chunks and smashed garlic in a saucepan and add water to cover. Add 1 tsp salt and bring to a boil over high heat, skimming off any foam that forms on the surface. Reduce the heat to medium-low and simmer, uncovered, until the chicken is opaque throughout, 20-30 minutes.
Using a tongs, transfer the chicken to a plate. Reserve the broth. When the chicken is cool enough to handle, remove and discard any skin or fat or bones and coarsely shred the meat with your fingers or a fork.
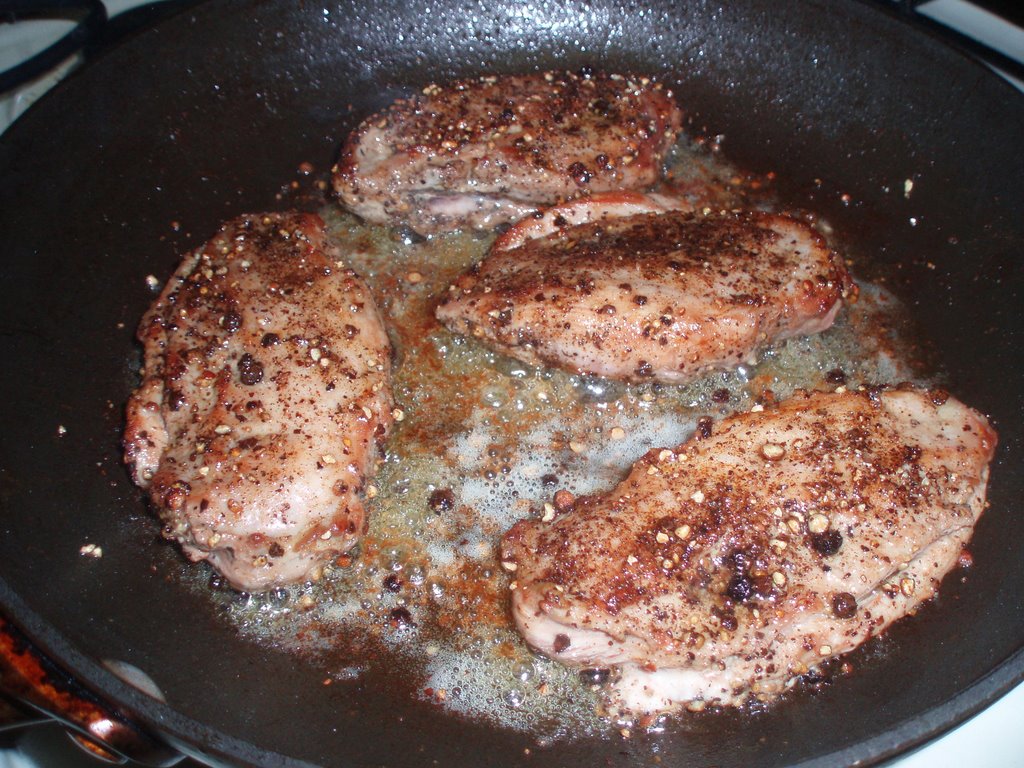
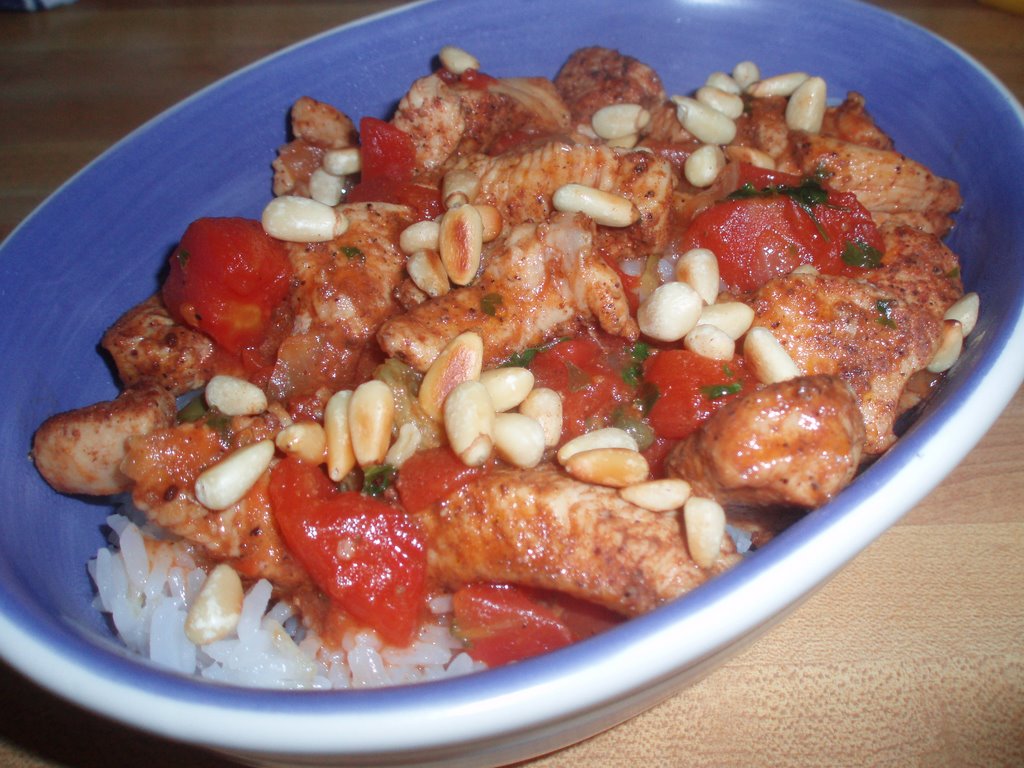
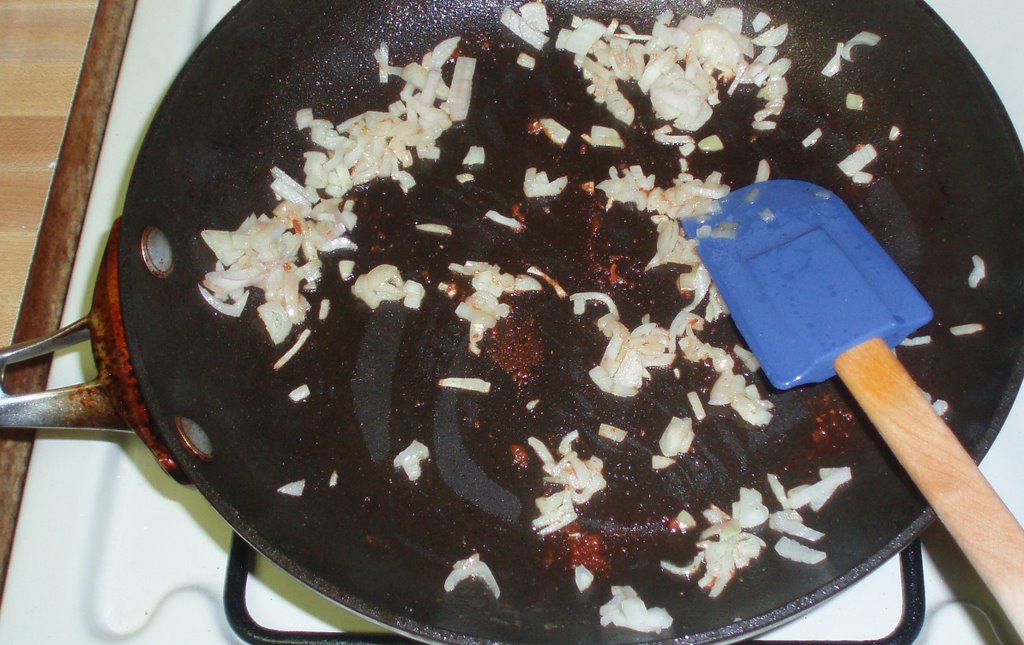
In a large frying pan or Dutche Oven over medium heat, heat the oil. Add the chorizo and fry for about 5 minutes. Remove the excess rendered fat. Add the finely chopped onion, garlic and saute until beginning to soften, but not yet starting to brown, about 1 minute. Add about 1 cup of the reserved chicken broth, deglaze the pan. Add the shredded chicken, tomatoes, oregano, bay leaves and chiles. Stir until blended. Simmer, uncovered, until the flavors are blended, about 15 minutes. Add more broth to the pan if the mixture begins to stick, but do not add too much; the mixture should absorb the liquid and not be runny. Remove and discard the bay leaves and season to taste with salt. Schoop the chicken into a warmed serving dish and garnish with the onion and avocado. (I garnished with some extra cilantro,and the avocado was in the form of guacomole.)

"Tinga," a specialty of Puebla, means "disorder" in Spanish and refers to a dish of savory shredded meat often used as a filling for tacos.
Make-Ahead Tip: The chicken can be cooked up to a day in advance. Cover and refrigerate until needed. You can also prepare the entire dish 1-2 days in advance and then reheat it over low heat.
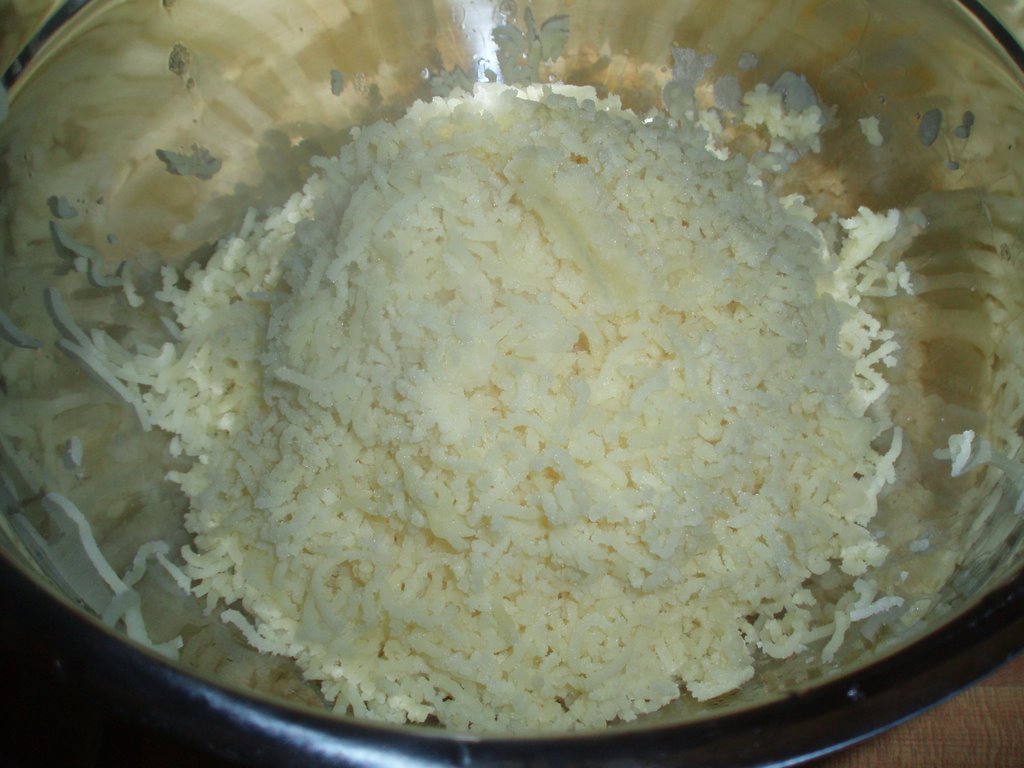
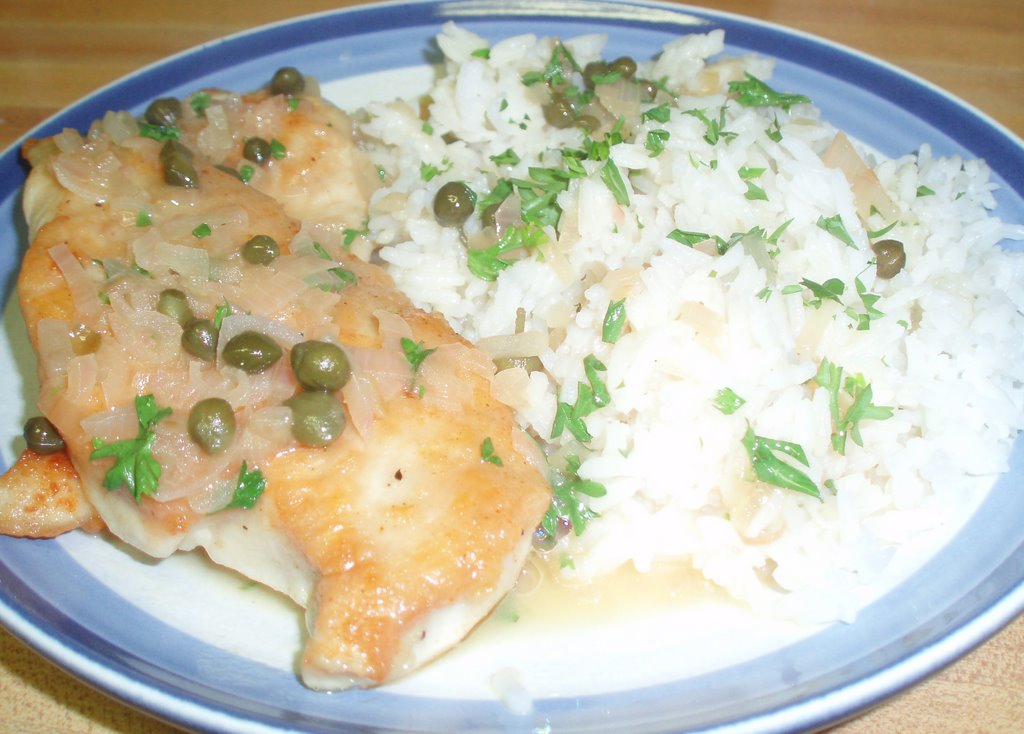
Serving Tips: Serve with warmed tortillas for diners to use for making tacos, or spoon over rice (we did that!)
My Notes:
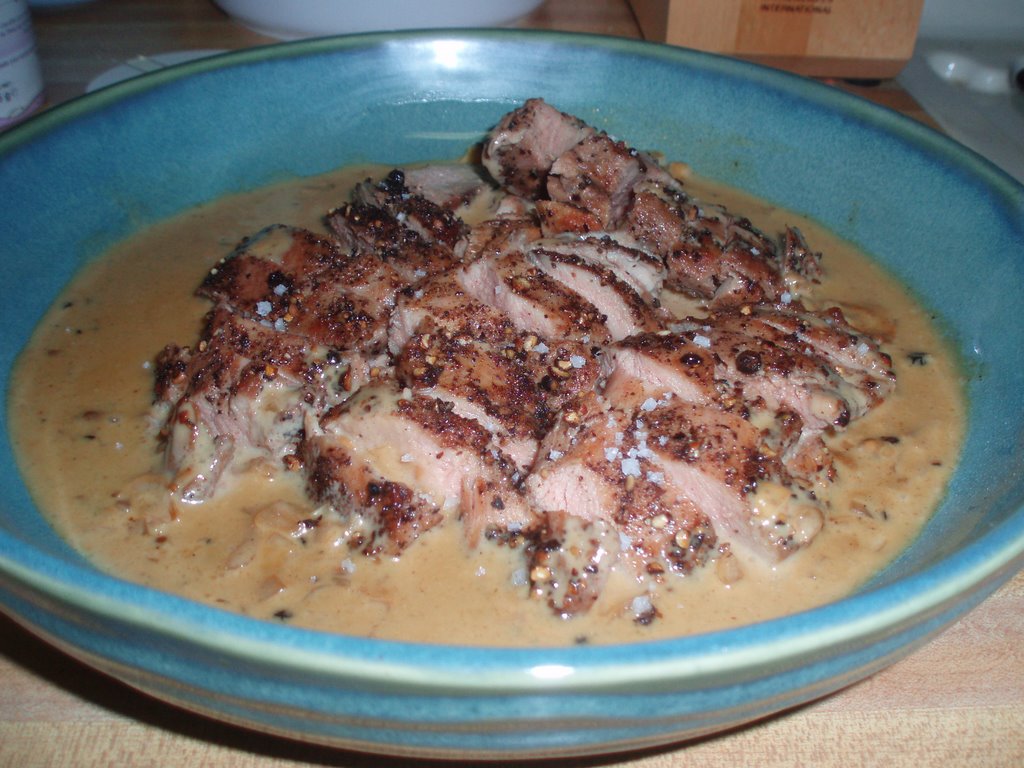
1) I enjoyed this dish. Hot, but not too hot. Some great flavors. It was wonderful on rice, but I look forward to trying the leftovers with some tortillas either as tacos, or maybe as a quesadilla filling!?!?!
2) I might add a TB of tomato paste next time to add another layer of richness.
3) There is some heat in the dish, from the chipotles and from the chorizo. A little dollop of sour cream can help tame it if it's too much for you.
4) I made some guacomole to go with the dinner. And some tortilla chips. Scoop up some chicken, add some guac. Great! I'll make this again!!!


.jpg)
.jpg)
.jpg)