The other day I was rolling through my favorite blogs and I stopped in to see what was up at
The Traveler's Lunchbox, a favorite for great writing and amazing photography. Our host was extolling the virtues of homemade brioche! I was compelled and felt up to the challenge!!!
Ladies and Germs, The Traveler's Lunchbox's fresh baked Brioche in seven steps and nearly 24 hours!
(It's a commitment and you do need a heavy duty mixer.)Brioche with Browned Butter and Vanillamakes 2 loavesBrowned Butter:2 vanilla beans
1 cup (2 sticks) unsalted butter
Sponge:2 tsp (1 packet) "rapid rise" yeast
1/2 cup whole milk, room temperature
1/2 cup bread flour
Dough:1/2 cup sugar
1 1/4 tsp salt
4 large eggs, lightly beaten
3 cups bread flour, plus more if needed
Wash:1 egg
1 TB heavy cream
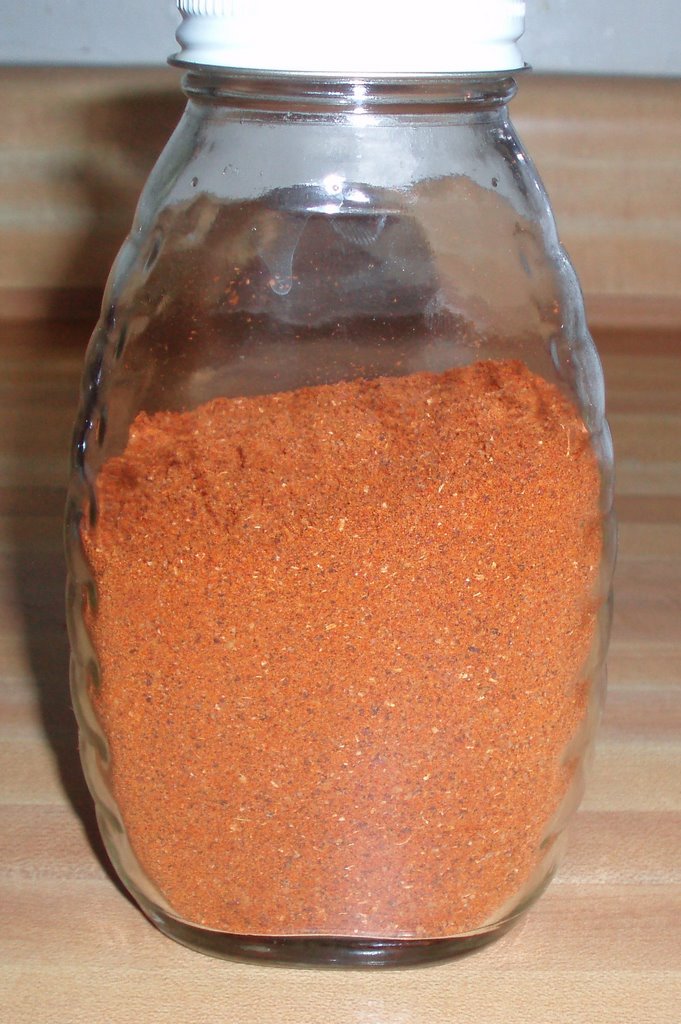
 The flour.
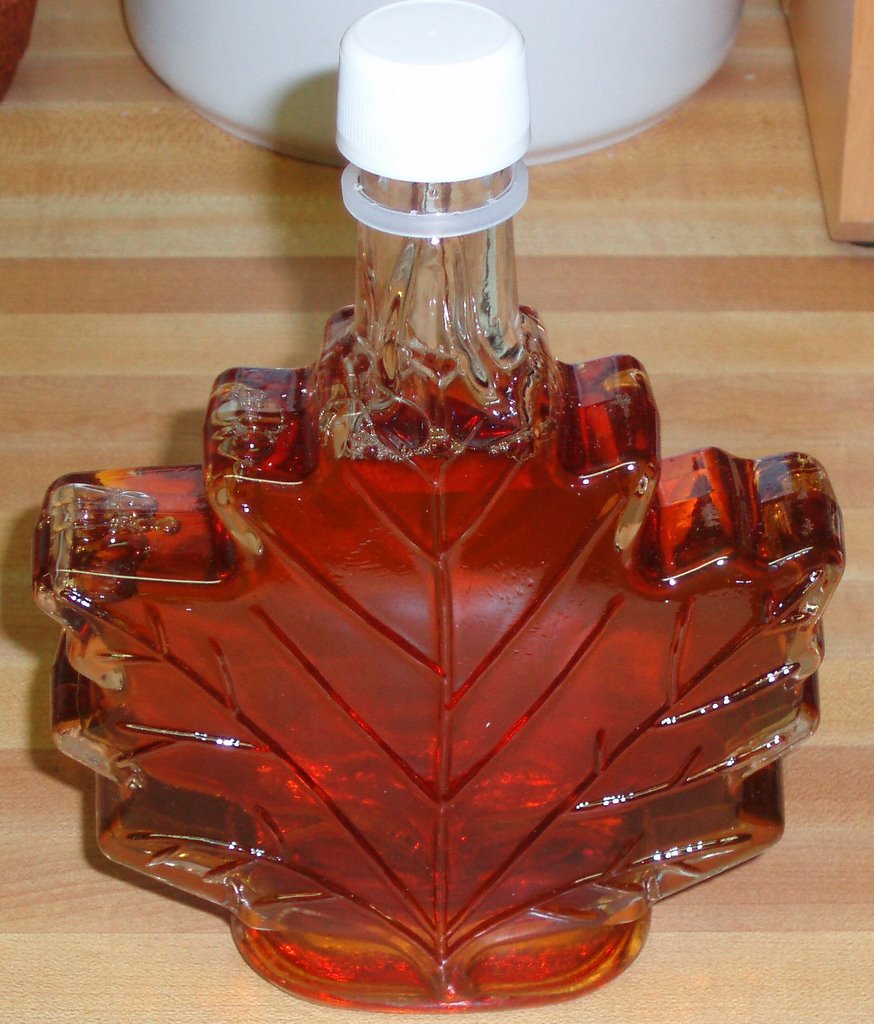
Make the browned butter. Split the vanilla beans down the middle and scrape the seeds with the tip of a knife into a skillet. Toss the pods in too and add the butter. Turn the heat to medium. Swirling occasionally, bring the butter to a boil and keep it boiling until the solids turn chestnut brown and everything smells deeply nutty. Do not let it burn. Remove from the heat, remove the vanilla pods and pour into a heatproof bowl or container (scraping in all the vanilla seeds and browned butter particles), and refrigerate until solid, about 2 hours.
 The browned butter with vanilla. This smelled so awesome!!! I wanted it on pancakes and with rolls!
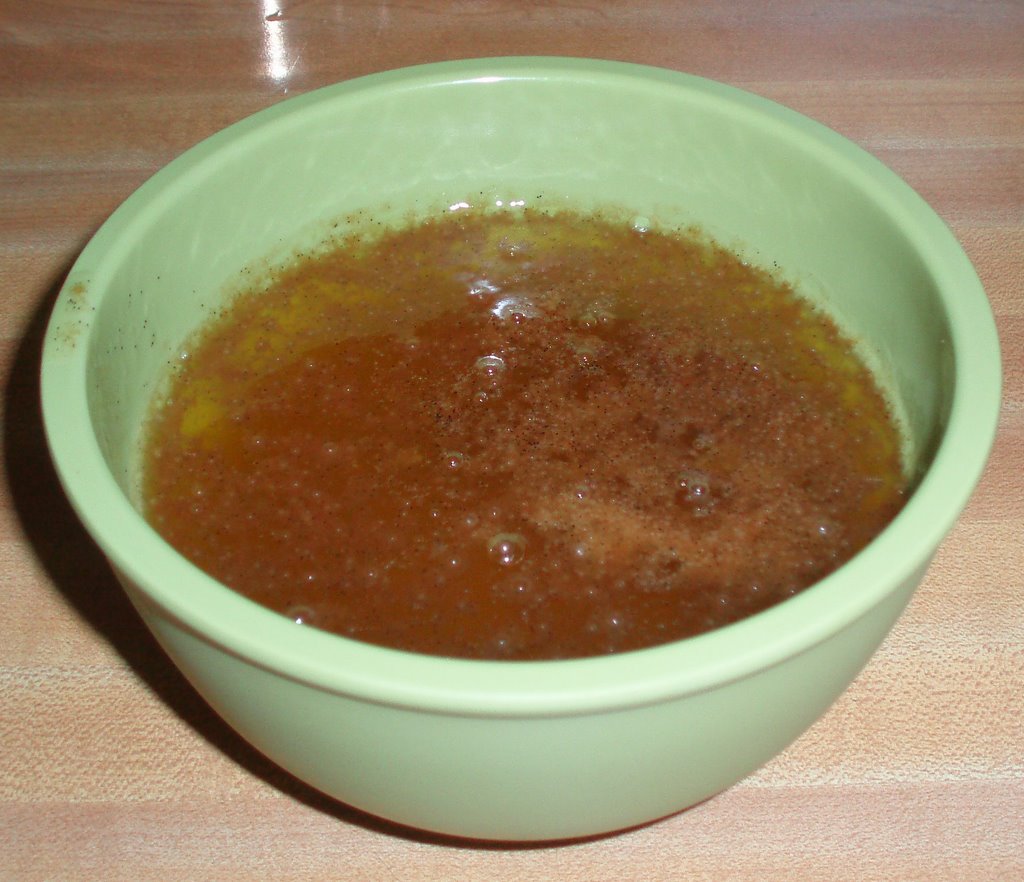
Make the sponge. Put the yeast, milk and flour in the bowl of your heavy duty mixer. Mix the ingredients together with a rubber spatula, mixing just until everything is blended. Cover the bowl with plastic film and set aside to rest for 30-40 minutes. During this time it should bubble up, your indication that everything is moving along properly.
Step Three/Hour 2.5Remove the brown butter from the refrigerator.
Add the sugar, salt, eggs and remaining flour to the sponge. Set in the mixer and attach the dough hook; mix on low speed for a minute or two until the ingredients loosely come together. Increase the speed to medium and knead the dough for 15 minutes. Stopping to scrape down the hook and bowl as needed. During this mixing period, the dough should come together (clearing the sides of the bowl), wrap itself around the hook and audibly slap the sides of the bowl. If it doesn't come together after about 8 minutes, sprinkle in more flour, one tablespoon at a time (maximum 1/3 cup), until it comes together.
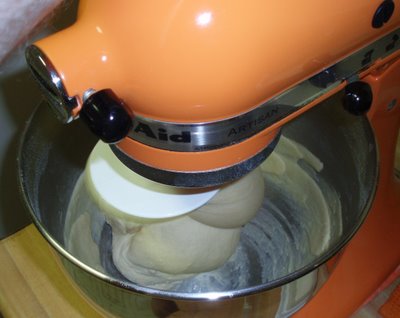 See how the dough is sticking to the dough hook? That's good!
Incorporate the butter. First stir the butter, so it's slightly softened. After your dough has been kneading in the mixer for 15 minutes, start adding the butter, a couple of tablespoons at a time. Once the butter is all added, lay a towel over the mixer, so the bowl is covered. Turn the mixer from low to medium. The dough that you worked so hard to make smooth will fall apart. Don't panic-just carry on. It will look like a runny batter, not a elastic dough. Beat the dough for five minutes. The dough will start slapping the side of the bowl again. When you are finished, the dough will feel somewhat cool, and be shiny, slightly sticky and very elastic.
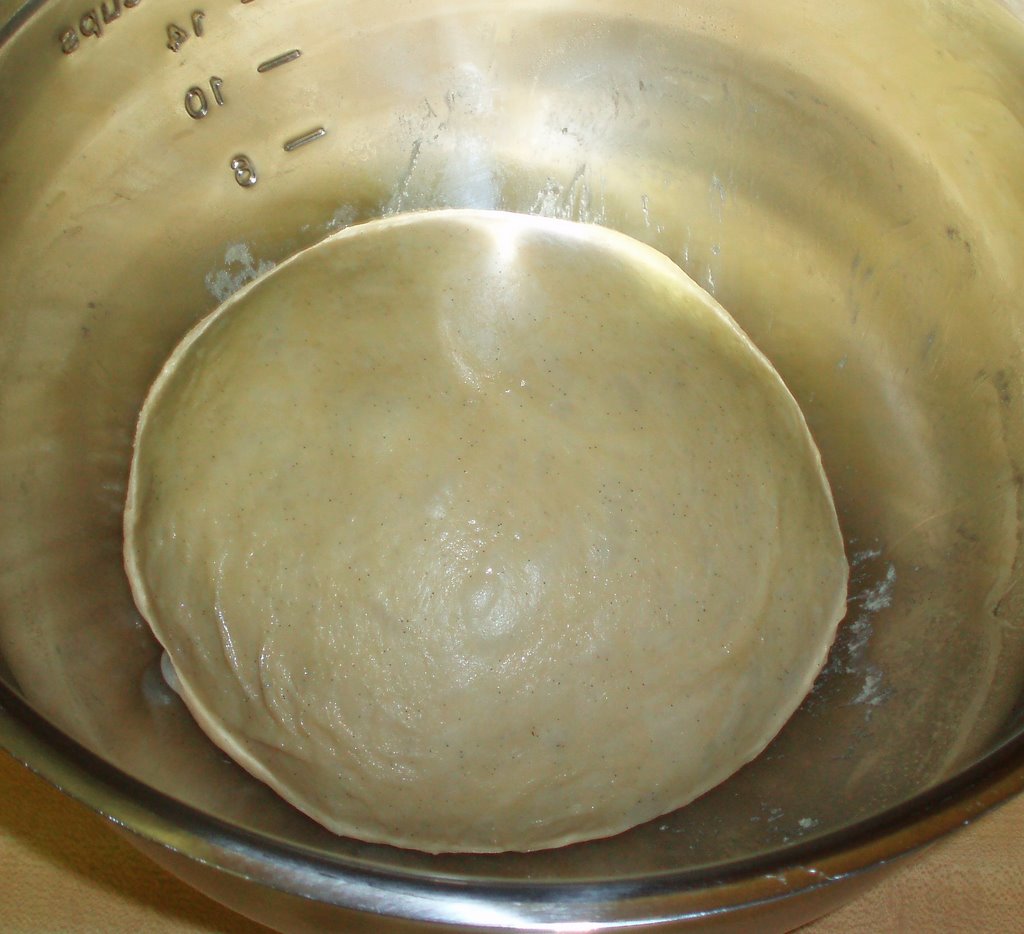
Transfer the dough to a large oiled bowl, cover tightly with plastic wrap and let it rise at room temperature until doubled in bulk, 2-2 1/2 hours.
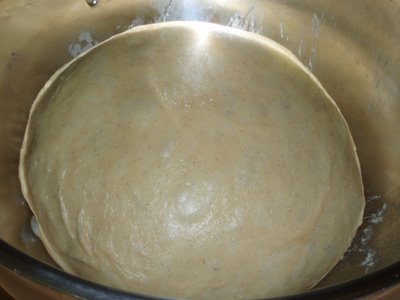 After two hours!
Deflate the dough by kneading it a few times in the bowl with greased hand. Cover the bowl tightly again and put in the refrigerator overnight, or for anywhere from 6-24 hours, during which time it will continue to rise and may double in size.
 The dough's been punched down.
 After a long time in the chill chest.
 Split into two loaves!
To make loaves; grease two loaf pans, line with parchment paper and oil the paper as well (this will make sure the loaves remove from the pans with ease-I didn't and it was a pain). Remove the dough from the refrigerator and working quickly, divide the coald dough in half. On a greased work surface, pat each half into a square about the length of one side of your pan. Roll each half up tightly, pinching the seam together to create surface tension. Lay the dough in the pans, seam side down. Cover the pans with buttered plastic wrap and allow the dough to rise at room temperature for 2-3 hours, or until doubled in size. Preheat the oven to 375.
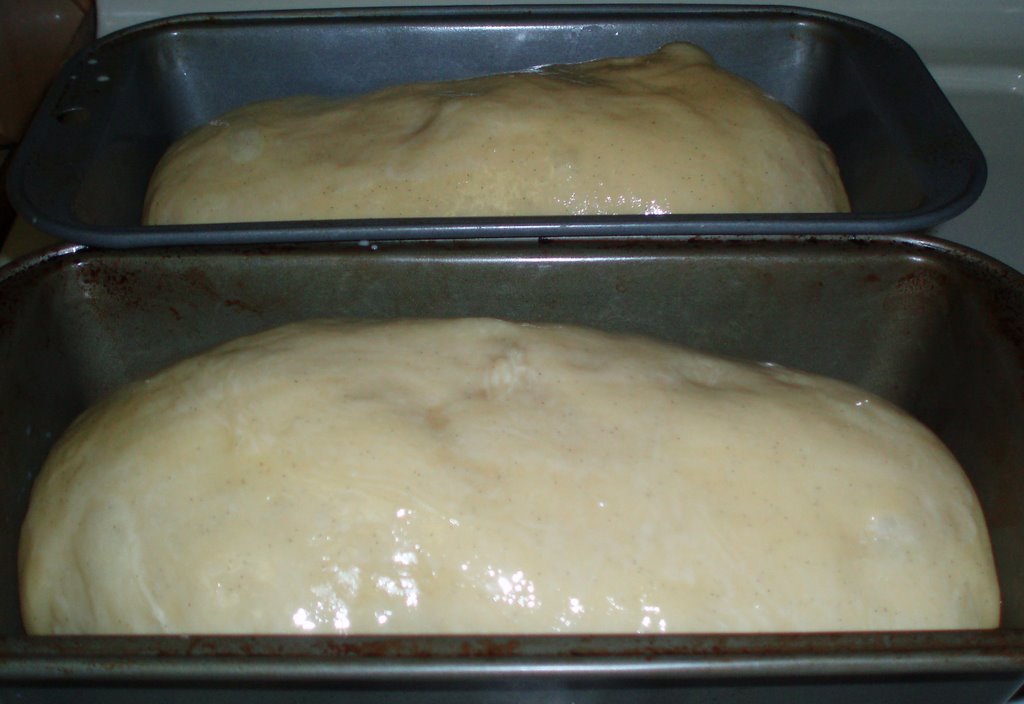
 Dough is doubled!
 Glazed with egg & cream.
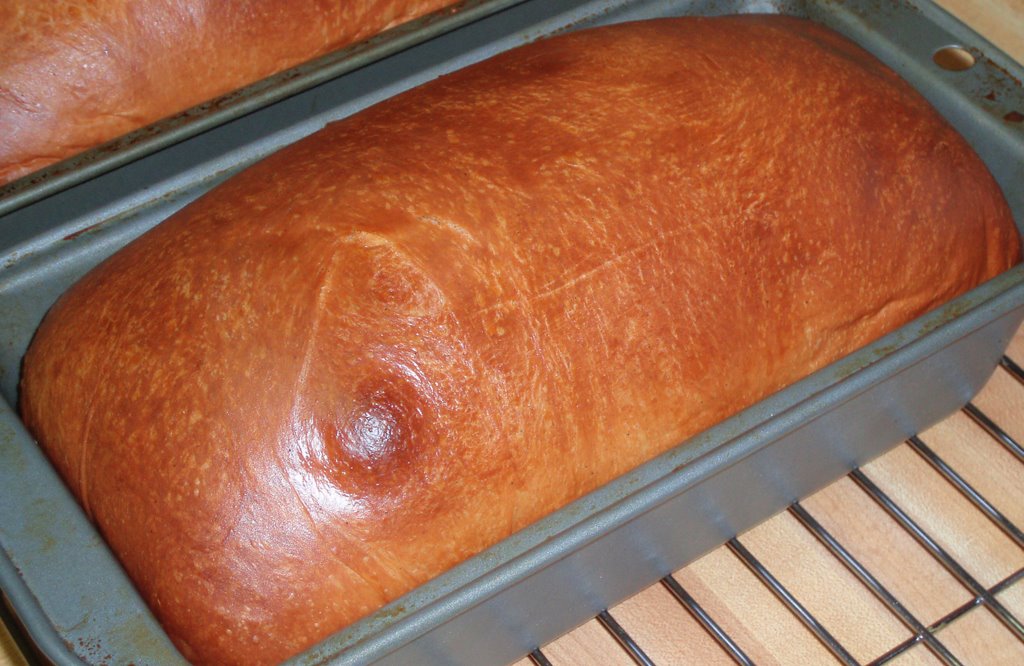
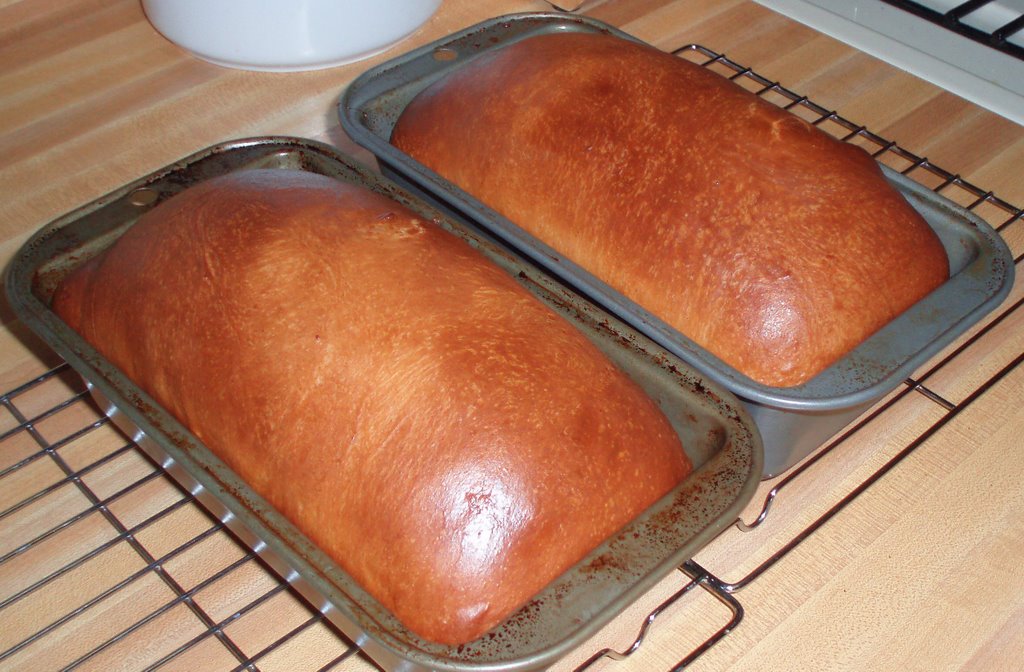
Mix the egg wash (egg and cream), lightly brush the tops of the loaves. Bake the loaves for about 30-40 minutes, until they are well-browned, firm and lofty. Cool to room temperature on a rack; consume or freeze within a day.


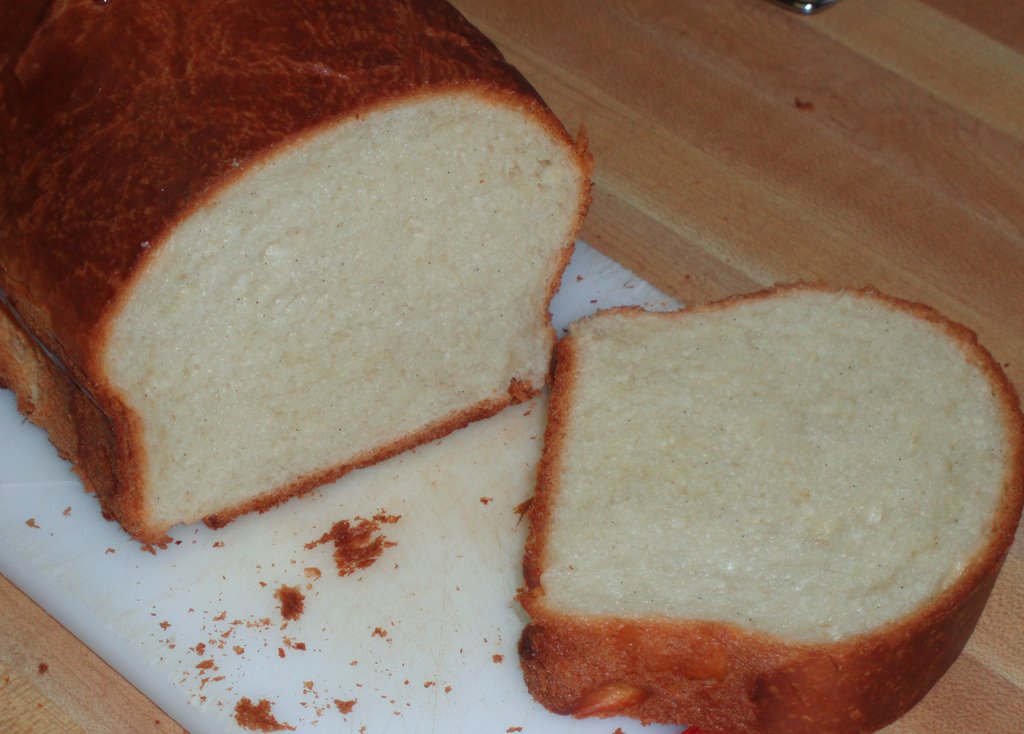
 Look at those pretty little vanilla specks! When you slice the bread, use a bread knife and allow the knife to do the work, don't push down, you'll squish the bread.