Saturday, December 30, 2006

Chicago

Hello from Chicago!

Hope ya'll are doing well. We checked in yesterday and then walked around Michigan Avenue. I woke up yesterday not feeling well and by mid-way through dinner, I thought I was dying...the aches, and sore throat, and all the other icky stuff...I think I had a quick 12-24 hour bug. Woke up better this morning.

If I don't hop back on before next week...happy new year!

Sunday, December 24, 2006

Great Green Gauc!

No sooner do I tell you I probably won't be posting anything new until the new year, I went ahead and made us a little mid-afternoon snack of Guacamole. Mmm. I gotta tell you, I used to fear Guac., but it's really starting to grow on me. And it's very easy to make, give it a shot. Good Fat!!!


2-3 avacados
2 roma tomatoes, seeded and diced
1 jalapeno, seeded and finely chopped
1/4 small white onion, finely chopped*
Small handful of cilantro, rinsed and chopped
1 lime, juiced
Salt

* I like to rinse my onions in cold water to get some of the strong acid/sulfuric compounds to go away...otherwise, they come back to visit me about an hour later.

Halve the avacados lengthwise and remove and discard the pits. Scoop out the pulp into a medium bowl and coarsely mash with a fork. Add the tomatoes, chiles, onions and cilantro. Add the lime juice to taste and season with salt. Mix until just combined.


From Wikipedia: The fruit has a markedly higher fat content than most other fruits, mostly monounsaturated fat. A whole medium avocado contains approximately 25% of the United States FDA's recommended daily amount of saturated fat. Avocados also have 60% more potassium than bananas. They are also rich in B vitamins, as well as vitamin E, vitamin K, and folate.

Year End Wishes

Happy Holidays to all my dear friends and loyal readers.
I wish you the best this holiday season and a very happy new year!

I suspect that posts will be few and far between over the next week with holiday travels. If something exciting happens I'll add a little post. See you in...2007!!!

Friday, December 22, 2006

Ribs and Kraut

A few weeks ago I shared with you my grandmother's German Potato Dumplings. Those were almost always served with Ribs & Sauerkraut. Now as a kid I wasn't having the kraut. That stuff would get scraped well to the side of my plate and sit there staring at me.

As a teen, I had it a few times, but never more than a bite or two. It wasn't until I moved to DC when I got a taste for it again. I understand the reluctance of having it or trying it...it is a pickled/fermentated cabbage...what's good about that right? Well, if you're afraid of the kraut, I think this application might be one to try.


Ribs & Kraut (Slow Cooker Method)
Serves 2-4

1 TB cooking oil
1 1/2 - 2 lbs ribs of your choice (this time I went with boneless country-style)
salt/pepper
1 package prepared sauerkraut (I think it's a 1 lb bag, in the meat section of the grocery)
1 medium onion, chopped
1 apple, peeled, cored and chopped
1 tsp caraway seeds (slightly crushed)
5 allspice berries
1 TB apple cider vinegar
1 cup apple juice

In a medium skillet, heat the oil over high heat and carefully add the ribs (which have been seasoned with salt/pepper). Give them a few minutes on each side until quickly seared. Remove to a plate.

Mmmm!

Prepped.


In the hot skillet, add the onions and saute for a few minutes, just until they become translucent. Add the caraway and allspice berries. Toss in the apples and stir together. Add the apple juice and deglaze the pan. Turn off the heat and prepare the slow cooker.


Apples and Onions!

Drain and rinse the kraut.

Place about 1/2 of it in the bottom of the slow cooker. Add 1/2 of the onion/apple mixture. Add the ribs. Add the remaining onion/apple mixture. Cover with the remaining kraut. Add all the cooking liquid from the apple/onion blend. Cover and cook in the slower cooker for:

6-7 hours on low
or
3-3 1/2 hours on high

Done.

Delish! We each had seconds! I wanted to have some potatoes and maybe something in the green veg family, but I forgot to get that stuff.


Now, why should this be the kraut you try...there is no bitterness to it. Just the slightly tang from the cider vinegar, but the apples and the juice really sweeten it all up! Divine!!!!

Monday, December 18, 2006

Pfeffernusse! God bless you.

Pfeffernusse
(German Spice Cookies)
Makes 3 dozen


I adapted this recipe from the recipe in the recent Saveur Magazine


These deliciously fragrant cookies provide a delightful rush of warm spices—and holiday cheer—when bitten into. For the best results, start with whole spices and grind them yourself.

½ cup honey
1/3 cup molasses
2 TB butter
2 eggs, room temperature
2 cups whole wheat pastry flour
1/3 cup almonds, finely ground
¾ tsp ground cinnamon
¾ tsp ground black pepper
¾ tsp ground clove
¾ tsp ground cardamom
½ tsp ground allspice
½ tsp baking powder
1 tsp vanilla extract
½ tsp almond extract
½ tsp lemon extract
2 TB vegetable oil
1 cup confectioners’ sugar, sifted
1-2 TB light rum
½ tsp lemon extract


Put honey, molasses and butter into a small pot and cook over medium-heat, stirring constantly, until hot, 2-3 minutes. Remove from heat and let cool. When cool, add eggs and whisk to combine.

Put flour, almonds, cinnamon, pepper, cloves, cardamom, allspice and baking powder into a large bowl and stir to combine. Add the extracts to the honey mixture and add to the flour mixture and beat with a wooden spoon until combined, to form dough.

Cover surface of dough with plastic wrap and refrigerate for 8 hours or overnight.

Preheat oven to 350. Line 2 baking sheets with parchment and set aside.

Lightly oil your palms with some of the oil. Form dough into 36 balls, each about 1 inch wide (the dough will be very sticky, so keep your hands lightly oiled while working-for real!). Divide dough balls between baking sheets keeping them spaced 1 inch apart.

Bake until slightly cracked on top and just firm to the touch, about 15 minutes. Transfer cookies to a wire rack and let cool slightly.

Meanwhile, whisk together confectioners’ sugar, rum, lemon extract and 5 tsp hot water to make a smooth glaze. While cookies are still warm, use a pastry brush to coat each one with a layer of glaze. Set cookies aside to let cool completely.


Eat right away or store in an airtight container, layered between sheets of waxed paper, for up to one week.

NOTE: The original recipe called for candied lemon peel. I couldn't find it and was planning to substitute some lemon zest, but my lemon was about a year past it's prime--hard and shrunken to about the size of a lime...so I skipped it and that's when I added the lemon extract. Next time I'll try to add the zest and still keep the extract.

Rootbeer Cookies

From the Washington Post's Cookie write up this past Wednesday


Root Beer Cookies
Makes 24 cookies

Root beer concentrate, used in making homemade root beer, plays a key role in both the cookies and the icing. We found McCormick's brand at larger Giant Food stores. Adapted from "The Red Hat Society Cookbook".

Store the cookies in an airtight container for up to 10 days. We suggest freezing them, well wrapped, without icing.

For the cookies:
1 cup packed dark brown sugar
4 ounces canola oil margarine
2 ounces (1/2 stick) unsalted butter, at room temperature
1 large egg
1 teaspoon vanilla extract
1/2 teaspoon baking soda
1/2 teaspoon salt
1 3/4 cups flour
2 teaspoons root beer concentrate

For the icing:
2 cups confectioners' sugar
1/3 cup unsalted butter, at room temperature
2 to 4 tablespoons water
1 teaspoon root beer concentrate

For the cookies: In a large bowl, using a stand mixer or an electric hand mixer on medium speed, beat the brown sugar, margarine, butter and egg for several minutes until well blended and fluffy. Reduce the speed to low and add the vanilla extract, baking soda, salt, the flour in increments, and the root beer concentrate. The batter will be stiff. Cover and refrigerate for 1 hour.

Preheat the oven to 375 degrees. Line several large baking sheets with parchment paper. Drop the dough by teaspoonfuls, spaced about 2 inches apart, onto the prepared sheets. Bake for 6 to 8 minutes; the cookies will spread. Transfer to a wire rack to cool completely.

For the icing: In a medium bowl, combine the confectioners' sugar with the butter and mix well. In a measuring cup, combine the water and root beer concentrate; add to the sugar-butter mixture and mix well, adding more water as needed to reach the desired consistency. Spread on the cooled cookies. Let set for about 30 minutes before serving.


These little guys required a little bit of work but are pretty good...and yes...they taste like rootbeer! Rootbeer!! Strange.

Saturday, December 16, 2006

It's Buttercream Frosting... ...but it's not cocoa!
Stay tuned for whatever this sweet treat might be.

Friday, December 15, 2006

Butter Chicken?

This is an easy "Indian" dinner. I certainly tastes Indian, but I don't know if it's authentic in anyway. But tasty it is...and easy. I think you could get away without whirling everything in the processor if you don't have one. When making your rice, throw a chunk of ginger and some cardamom if you have it...Mmmmm!


Indian Butter Chicken

From Safeway Select Magazine (yep, from the check out at Safeway)

1 onion, peeled/chopped
2 TB fresh ginger, minced
1 jalapeno, chopped
1 TB olive oil
2 tsp garam masala
1 6oz can tomato paste
2 cups chicken broth
½ cup whipping cream
1 ½ lb chicken, boneless/skinless breast cut in ¾ inch pieces
Salt/Pepper
2 TB unsalted butter

For Serving:
Rice
Chopped cilantro

In a large pan, combine onion, ginger, jalapeno and oil. Stir often over high heat until onion is lightly browned, 3-5 minutes. Stir in garam masala. Scrape mixture into a blender; add tomato paste and chicken broth. Whirl until very smooth. Pour mixture back into pan, add cream and bring to a gentle boil over high heat (will splatter). Lower heat and simmer, stirring often, until reduced to 3 cups, about 5 minutes. Pour sauce into a bowl Rinse and dry pan.

Season chicken with salt & pepper. Set pan over high heat; add 1 TB butter and chicken. Stir until chicken is no longer pink on the surface, 2-3 minutes. Add the sauce and simmer over medium heat, stirring often, until chicken is no longer pink in center, 3-4 minutes. Cut remaining butter into chunks and stir into sauce until melted.

Spoon chicken and sauce into rice. Add salt to taste. Sprinkle with cilantro and serve.

Tuesday, December 12, 2006

Biscottie's Biscotti

About a year ago...a year and a half actually, we were having some guests for the weekend. I wanted to do something a little extra special for those visitors. I thought maybe something nice for breakfast. How about some Biscotti...we'll, that would be interesting.

This is my second time making these and they are still great! And really they are not that difficult...schlup some stuff in the mixer, bake for a bit, slice and bake a touch more...dip in melted chocolate...and next time I'm going for dark chocolate!!! Yum and Yum.


Cherry Almond Biscotti w/White Chocolate
Makes about 2 dozen, give or take.

1 cup slivered almonds
½ cup dried cherries
½ cup (1 stick) unsalted butter
3 eggs
1 cup sugar
1½ tsp almond extract
1 tsp vanilla extract
3½ cups all-purpose flour
1 tsp baking powder
½ tsp salt

Preheat the oven to 350 degrees F.

In an electric mixer, beat the butter until light and fluffy. With the mixer running, gradually add the eggs, sugar, and almond & vanilla extract; mix until creamed. Add the flour, baking powder, and salt. Mix the dough until smooth. Using a wooden spoon, mix in the cherries and almonds until evenly distributed.

Put the dough on a lightly floured surface and cut in half. Roll each half into a log, each 12 inches long by 1-inch high. Place the logs on an un-greased cookie sheet and bake for 35 minutes (turning ½ way through) or until the bottoms are lightly brown. Let the logs cool for 5 minutes and then place on a cutting board. Slice each log on a diagonal into 12 1-inch thick pieces. Put the cookies back on the cookie sheet and bake 5 minutes. Turn the cookies over and bake the other side for another 5 minutes.

When cool, dip in melted white chocolate.

When cool, store cookies in an airtight container.

The dough getting ready for the oven.

A quick rest to coool before slicing.

After the second baking, they need to cool.

Dipped!

Monday, December 11, 2006

Well that was easy

Homemade Peanut Butter
(makes about 1 cup)

2 cups shelled peanuts
2-4 TB vegetable/canola/peanut oil
Salt, to taste
Sugar/Honey (optional)


Throw it all in the food processor and run until smooth, add extra oil if necessary. Sweeten to your tastes. My peanuts were very blah, so a touch of sugar/honey really helped it out.


It took longer to clean up than it did to make it!

I'm 400!

Welcome to the 400th post on Eat With Me!
Wahooooey!

And now let's get down to business...I can't tell if this recipe is from Lidia's Italy magazine or some other Italian cuisine magazine?!? Doesn't matter, very yummy!

Orecchiette with Sausage
(6 servings)
2 TB olive oil
8 oz. sweet pork sausage
1 clove garlic, minced
2 cups canned tomatoes, chopped & drained
1 cup dry red wine
1 pinch red pepper flakes
Salt/Pepper

Freshly made Orrecchiette (recipe to follow), yes Freshly Made!
1/2 cup freshly grated Parmesan

In a large skillet, combine olive oil and sausage and cook on medium low heat until browned, about 9-10 minutes. Add garlic, tomatoes, wine, red pepper, salt & pepper. Partially cover and cook about 30 minutes.

Toss the cooked pasta and top with grated cheese.

Fresh Orrecchiette
makes 4-6 servings

1 1/2 cups fine semolina flour
1 cup all-purpose flour
1 tsp salt
2/3 cup warm water or more as needed

In your mixer, bring together both flours and salt. Gradually add water until a dough forms that is not as sticky as an egg dough. Knead on a lightly floured surface until smooth. Cover and let rest 30 minutes.

Cut the dough into 8 equal pieces and roll each piece to a cigar shape. Cut off pieces about 1/2 inch wide and press with your thumb to make orecchiette.

My little ears!

Resting on the lovely sauce!

Tossed and coated!

So Good! A touch chewy, but I really enjoyed them!

Sunday, December 10, 2006

Mooooo!

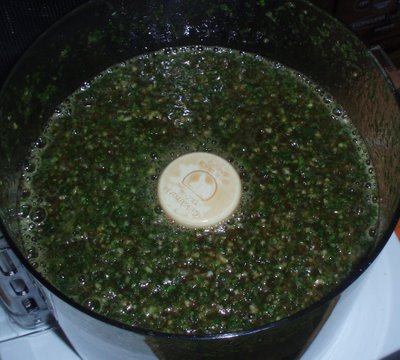
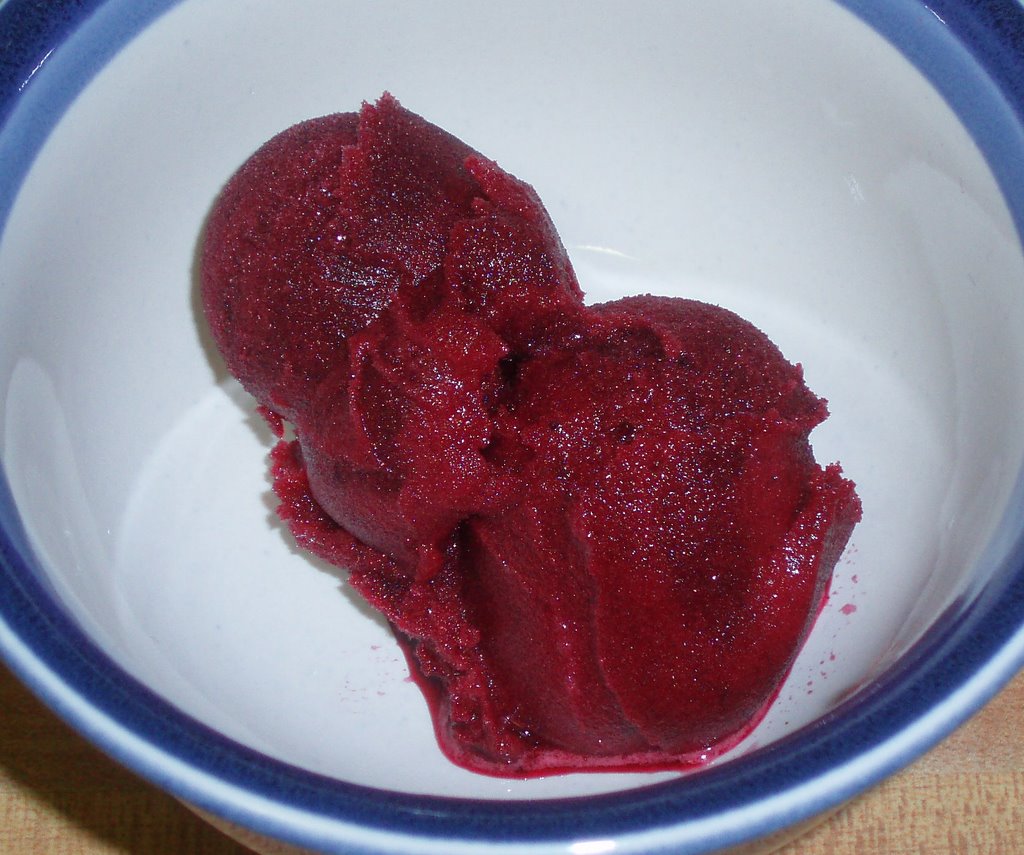
I spent part of Sunday organizing and cleaning. One thing I came across that I thought might be of use to some of you is this Guide to Beef Roasts from Cook's Illustrated. What I like about it is this; you get a recipe and it says to buy 3 lbs of ____. Well, you get to the store, but you can't find _____. But more than likely ____ is sitting right there with some other name. This listing has the roasts and some of their other names.

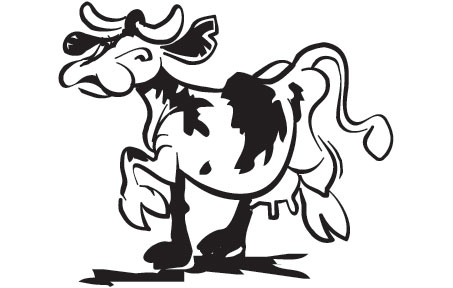
FYI, these are just roasts, which Cooks Illustrated classify as thick cuts of meat that are best cooked by roasting or braising. The tender cuts with little connective tissue respond best to dry-heat cooking (roast). Tougher cuts, which generally come from heavily excerised parts of the animals, respond best to slow, wet cooking (braising). Also, the cuts listed here are from the top of the cow (Chuck, Rib, Loin, Round)

Mmmm, cow!

Guide to Beef Roasts
From Cook’s Illustrated
Flavor Rating (*, **, ***, ****, *****)


Chuck Roasts:

**** Top Blade Roast (alternate names: Chuck Roast First Cut, Blade Roast, Top Roast)
Best way to cook: Braise

**** Chuck 7-Bone Roast (alternate names: Center-Cut Pot Roast, Chuck Roast Center Cut)
Best way to cook: Braise

*** Chuck-Eye Roast (alternate names: Boneless Chuck Roll, Boneless Chuck Fillet)
Best way to cook: Braise/Roast

** Under Blade Roast (alternate names: Bottom Chuck Roast, California Roll)
Best way to cook: Braise

** Chuck Shoulder Roast (alternate names: Chuck Shoulder Pot Roast, Chuck Roast Boneless)
Best way to cook: Braise

Rib Roasts:

***** Rib Roast, First Cut (alternate names: Prime Rib, Loin End, Small End)
Best way to cook: Roast

**** Rib Roast, Second Cut (alternate names: Large End)
Best way to cook: Roast

Short Loin and Sirloin Roasts:
*** Tenderloin (alternate names: Whole Filet)
Best way to cook: Roast

**** Top Sirloin Roast (alternate names: Top Butt, Center-Cut Roast)
Best way to cook: Roast

** Sirloin Tri-Tip Roast (alternate names: Triangle Roast)
Best way to cook: Roast

Round Roasts:
** Top Round Roast (alternate names: Top Round First Cut, Top Round Steak Roast)
Best way to cook: Braise/Roast

** Bottom Round Rump Roast (alternate names: Round Roast, Bottom Round Pot Roast, Bottom Round Oven Roast)
Best way to cook: Braise/Roast

* Eye-Round Roast (alternate names: Round-Eye Pot Roast)
Best way to cook: Braise/Roast

(no stars) Bottom Round Roast (alternate names: n/a)
Best way to cook: Braise/Roast

Thursday, December 07, 2006

Don't pop your cork

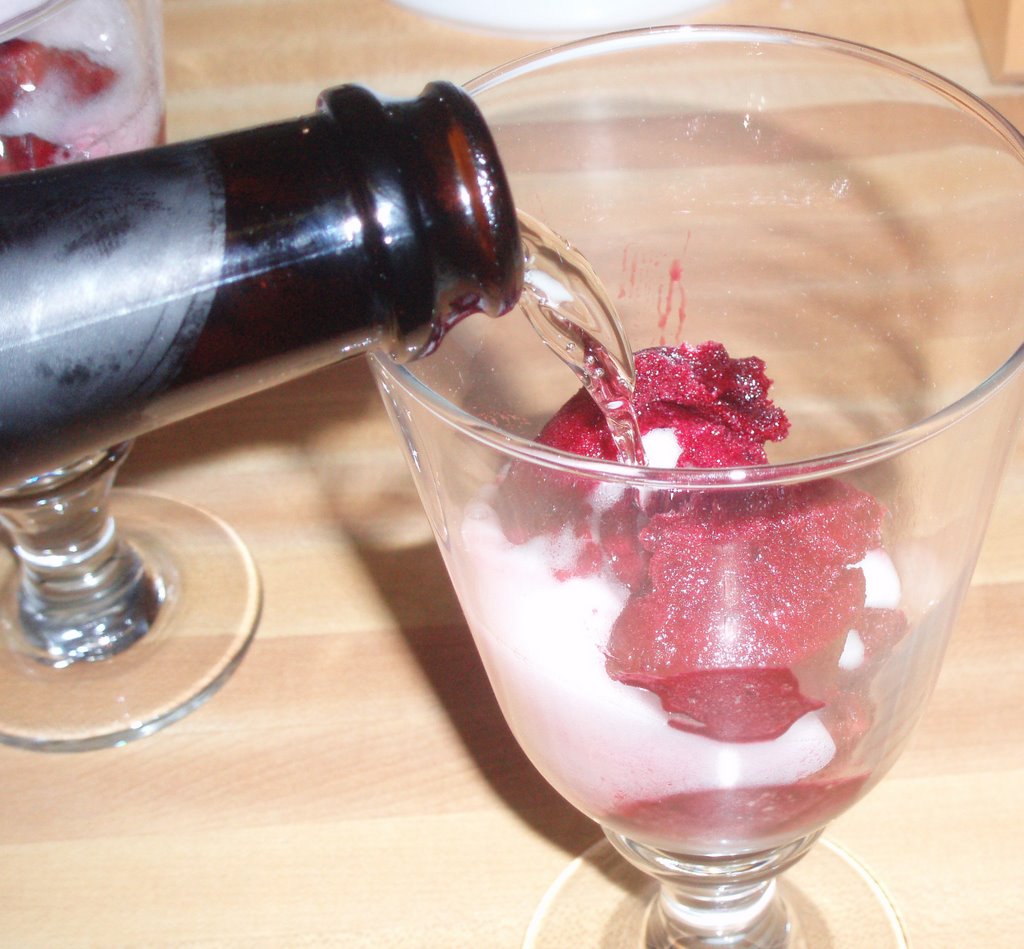
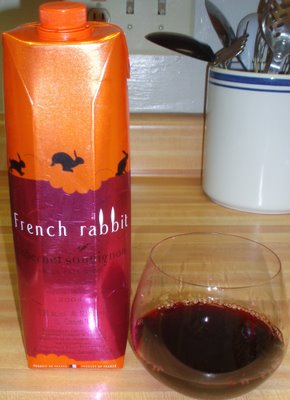
Box wine...not bad. Saw it at the shop the other day and thought why the hell not. I'd been hearing a lot about how the quality of boxed wine has improved. I enjoyed the two or three glasses I had. Now, it's not great wine, but it's pretty good.

Moving on...

Tuesday evening was spent preparing for Wednesday night's dinner. An over night soak in a very flavorful marinade was needed.

Ginger Braised Pork w/ Habanero Pesto
Serves 4-6
(Previously posted
here, this version has been updated a touch)

2-3lb pork butt roast or pork tenderloin, prepped according to instructions
9 cloves garlic
5 inch piece, ginger, cut in large chunks
2 bunches of cilantro, roots removed
1 bunch green onions, roots and tough green bits removed
(leaving about 3 inch pieces)
½ onion, peeled.
12 oz pineapple juice
6 oz soy sauce
2 habenero peppers (seeded-optional depending on your heat preference)
2 jalapeno peppers (ditto)
½ cup pine nuts
½ cup grated Parmesan cheese
Salt & Pepper to taste
Olive Oil

Shapely Pasta
Sour Cream

Create the Marinade:
1: Throw together in your food processor: garlic, ginger, 1 bunch cilantro, green onions and onion. Whiz quickly until it comes together. Add the pineapple juice and the soy sauce, quickly whir together. Pour into a large zip top bag placed in a bowl.

Prep the Pork:
2: Remove excess fat and as much of the connective tissue as you can. The more you can remove, the more tender and ‘melt in your mouth’ the final dish will be. Cut the pork into large (3inch) pieces.

The first time I made this, I couldn’t find Pork Tenderloin, so I went with Pork Butt. The Pork Butt was a great substitute, but really is full of a lot of extra fat and other unsavory parts. When all was said and done, the prep took about an hour, but was worth it. This time when I prepared it, I had a Pork Tenderloin and it took take less time to prepare. My preference is actually for the Pork Butt; more flavor I think!

3: Once the meat has been prepped, add it to the bag of marinade, seal up and set in the fridge for up 18-24 hours.

4: After marinating over night, preheat your oven to 300. Get out a large, oven-proof pan and place over high heat on the stove top. Add a thin layer of oil. Remove the meat the marinade (do not discard marinade) and pat dry. Add to the pan cautiously and sear on each side. Work if batches if necessary, don’t crowd the pan.

5: When the final batch of meat has finished searing, carefully add the marinade. Bring to a simmer, cover and place in the oven. Check after an hour. Turn the meat.

Make the Habanero Pesto:
6: In your food processor, add the Habenero and Jalapeno peppers, the 2nd bunch of cilantro, pine nuts, parmesan cheese and a pinch of salt & pepper. Whiz together to form a coarse paste. Turn back on and stream in the olive oil until smooth and silken, about ½ a cup.

8: When the meat is tender…fork tender, serve over shapely pasta with a dollop of pesto and sour cream. Swirl together to blend all the flavors. Enjoy!


Marinde ingredients. I added a pinch of salt. Not necessary. I thought it would since I had a lite Soy sauce. Nope.


Completed marinade.

Final Dish!
When I made this the first time, the texture was the same, soft, tender morsels of meat, but the sauce was a deeper mahogany color and thicker, richer sauce. This time I had a paler version, less color and the sauce was looser. Once it was all stirred together (sauce, sour cream, pesto) it didn't really matter, but instead of a 10, it was an 8?!?! Something I'll work on for the next round!


Sunday, December 03, 2006

Nigella's Naughty Bits

Nigella was naughty today. I happened to have all that I needed to mimic her.

Sorbet & Fizzy Wine.

Fruit Fizz!


Key-sshh

We had C&S over for brunch this morning. J-lo and I are celebrating our 7th anniversary this weekend. So what better way than brunch and mimosas! All the food (except the fruit--strawberries and pineapple, not us) came from the oven.

And there was a first for me. I'd never made a quiche before! So today, we had quiche.

Easy Peasy!

Sausage, Potato, Onion and Harvarti Quiche
Serves 6-8

6 eggs
1 1/2 cups heavy whipping cream
1/2 lb pound cooked/crumbled sausage
1/2 cup sauted potatoes
1 sliced onion, carmelized
1/2 cup Herbed Harvarti, diced
Salt/Pepper
Pie Crust-9 inch pie pan (used store bought dough from diary section)

Preheat the oven to 350.

Whip the eggs and cream together. Season with salt/pepper. Set aside.

Fill the Pie Crust with the sausage, potatoes, onions and harvarti. Gently pour the egg mixture into the pie shell. Softly wiggle the pan to let the egg settle.


Bake the quiche for about 40 minutes, give or take. You want a little wiggle in the center.

Remove from the oven and allow to rest for 5-10 minutes, slice and serve! Mmmm!

Saturday, December 02, 2006

Blueberry & Sage Sorbet

The final tasting at this year's Thanksgiving was a little experiment. I had a ton of sage and thought it would be fun to try to add it into a sweet for the end of the meal. A quick little Google search on fruit pairings with sage brought up Blueberries.

Hmmm, what to do?

Well, I've never made a sorbet before and thought it might be a nice light thing to do.

It worked really well!

Blueberry & Sage Sorbet
3 cups Blueberries
1 1/2 cup Ginger Ale
3/4 cup sugar
5 sage leaves
Pinch of salt

If you're using fresh Blues, rinse and discard bad berries. Roughly chop the sage leaves.

Add all the ingredients into a sauce pan and place over medium-high heat, bring to a heavy simmer, stirring regularly. The blues will start to break apart, the sugar will dissolve. I think this was about a 10-15 minute.

When done, line a fine sieve with 4 layers of cheese cloth and place over a large bowl. Pour the Blues mixture into the sieve. The syrup will drain into the bowl. Press on the fruit bits to extract more syrup. Allow to drain for 20-30 minutes. If cool to touch, you can twist the cheese cloth to extract even more goodies.

Pour the syrup into a heavy zip top bag and refridgerate over night.

When ready, mix according to the instructions of your ice cream/sorbet making. I had about 20-25 minutes in my machine. When done, transfer to a freezer safe dish and put in the deep freeze for at least a few hours.

Serve!

I bought fresh berries, wash them and discarded the bad ones. Then froze them. I actually was looking to get frozen berries, perhaps a little more affordable and maybe more flavorful-frozen at their peak ripeness? But Giant didn't have frozen Blues, just fresh ones. Since I got them a few days before needing them, I felt freezing them was a good step.

The rich, deep amethyst syrup. If cooled, this would be a very tasty fruit sauce.

The final product. Even when frozen, the sorbet has this soft, creamy texture in your mouth. And both flavors really came through. The Blues and the sage were both very distinct. The Ginger Ale dien't come through. I think if I'd want more of the warmth of the ginger, I'd actually add a lump of crush ginger into the mix at the beginning to extract some extra flava!

Friday, December 01, 2006

Mint, Peanuts and Lime, Oh My!


Mmmm, stir fried noodles. Pretty easy folks...and super duper veggie friendly. Last night though, the fish sauce seemed a little extra pungent. The flavor wasn't affect, so far as I could tell, but the aroma had that slightly off scent to it, and that lingered in the house for a touch. Curious. Same bottle as the last time I used it and I used the same quantity, so....regardless, dinner was delightful!